In summary:
- Engage 4-Low for maximum control, not speed, on challenging off-road terrain.
- Use it for slow-speed rock crawling to protect the vehicle’s undercarriage.
- Select 4-Low before descending steep, loose hills to utilize engine braking and prevent brake failure.
- It is essential for controlled water crossings and jacking a vehicle safely in soft sand.
- Never use 4-Low on high-traction surfaces like pavement, as it can severely damage the drivetrain.
You’re behind the wheel of a high-clearance rental 4×4, the pavement has ended, and the trail ahead looks intimidating. You see the buttons for “4H” and “4L” (4-Low), but the rental agent’s instructions were a blur. The most common advice is to “use 4-Low for more torque,” but what does that actually mean for you, the driver? This uncertainty leads to hesitation, and hesitation is where mistakes happen. You fear damaging this expensive machine or, worse, getting stranded.
Many guides simply list situations. They fail to explain the fundamental shift in mindset required. The key is to stop thinking about 4-Low as a “power” button and start seeing it as a “control” button. It’s a gear system designed for deliberate, precise, and safe maneuvering where speed is your enemy. The primary difference is simple: 4-High (4H) is for maintaining momentum at moderate speeds on slippery surfaces like gravel or snow. 4-Low (4L) is for situations demanding ultra-slow speed and maximum mechanical leverage. Using 4L on dry pavement causes drivetrain bind, a phenomenon where the wheels can’t slip to accommodate turning, putting immense stress on axles and gears.
But if the real secret isn’t just knowing *what* button to press, but understanding the *why* behind the technique? This guide moves beyond the dashboard. We will focus on the physics and feel of slow-speed driving. We’ll translate abstract concepts into the tangible confidence you need to assess terrain, protect the vehicle, and ensure your own safety. We will explore how to manage everything from rock fields and water crossings to vehicle recovery and wildlife encounters, turning your anxiety into calculated competence.
This article provides a structured approach to mastering your 4×4’s capabilities. Each section tackles a specific challenge, explaining the correct technique and the mechanical principles that make it work, ensuring you return the keys with nothing but good memories.
Summary: A Technical Guide to 4-Low Engagement
- The High Point: How to Drive Over Rocks Without Smashing the Differential?
- Air Intake: How Deep Can You Cross Water Before Destroying the Engine?
- Approach and Departure: Will the Bumper Scrape on This Ditch?
- The Base Plate: How to Use a Jack on Soft Sand?
- Engine Braking: Why You Shouldn’t Ride the Brakes Downhill?
- Jack and Spare: Is the Rental Equipped to Change a Tire on Dirt?
- Why One Footstep Can Destroy 50 Years of Soil Growth in the Desert?
- Fauna Tracking Safaris: How to Interpret Predator Body Language for Safety?
The High Point: How to Drive Over Rocks Without Smashing the Differential?
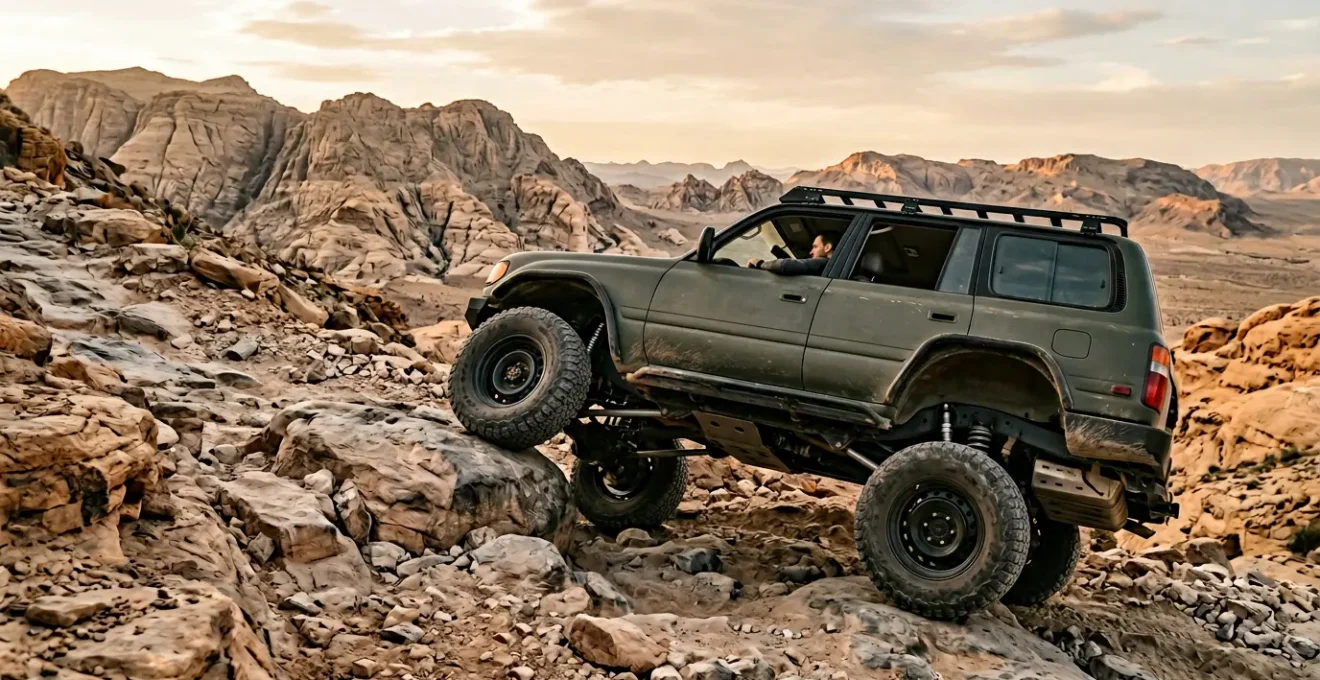
Navigating a rock field is the ultimate test of slow-speed precision. Your goal is not to power over obstacles, but to gently guide the vehicle through them. The lowest point of your 4×4 is usually the rear differential housing—a cast-iron lump that can easily get snagged or damaged. The key is wheel placement awareness: knowing exactly where each of your four tires is at all times. In 4-Low, the massive gear reduction allows you to crawl at a snail’s pace, giving you time to think and make micro-adjustments to your steering. You want to position your tires on the high points of the rocks, allowing the chassis and differential to pass safely over the low points.
This requires understanding your vehicle’s crawl ratio, which measures its ability to multiply engine torque for ultimate slow-speed control. While you won’t calculate this in a rental, knowing that a purpose-built rig might have an ideal 110-130:1 crawl ratio helps you appreciate the immense control 4-Low provides. It allows the engine to turn at a comfortable RPM while the wheels rotate very slowly. This prevents the jerky, uncontrolled lunges that happen when you try to “feather” the brake and accelerator in 4-High. You are aiming for a smooth, continuous, and predictable crawl. Listen for sounds: a light scrape on a frame rail is often acceptable, but a loud bang or thud on the differential is a sign your line choice was wrong.
Before you even approach a rocky section, get out and walk it. Identify your “predictive line choice” — the path you will take. Note the vulnerable areas under your truck, like the differentials, oil pan, and fuel tank. This mental preparation is far more important than raw power. True rock crawling is a slow, deliberate dance between driver and machine, built on a foundation of mechanical sympathy.
Air Intake: How Deep Can You Cross Water Before Destroying the Engine?
Water crossings present a unique and serious risk: hydrolocking the engine. This occurs when water enters the air intake and fills a cylinder. Since water doesn’t compress, the piston’s upward stroke comes to a violent halt, often resulting in catastrophic engine failure. The first rule is knowing your vehicle’s maximum wading depth—the manufacturer’s specified limit for safe water fording. For most production 4x4s without a snorkel, this depth is around 20-24 inches. A snorkel raises the air intake to roof level, but even with one, other components like electronics (ECU) and axle breathers can be vulnerable.
The cardinal rule of water crossings is: never drive through water you haven’t walked through first. This on-foot assessment allows you to check for depth, current speed, and hidden obstacles like submerged rocks or deep mud. A walking stick is an invaluable tool for probing the riverbed. Once you’ve confirmed a safe path, the technique is about creating and maintaining a “bow wave.” By driving at a steady, slow speed (typically under 4 mph or 7 km/h), you push a wave of water in front of the vehicle. This bow wave effectively lowers the water level around the engine bay, helping to protect the air intake and electronics.
As you can see in the illustration, entering the water too fast will flood the engine bay, while going too slow will not create a sufficient wave. The key is a committed, steady pace. Avoid stopping or changing gears mid-stream. Choose a clear entry and exit point before you begin, and once you commit, follow your planned line smoothly. Remember that the water creates resistance, so you will need to apply more throttle than usual to maintain your steady speed. This is another scenario where 4-Low provides the necessary control to maintain a consistent speed without stalling or spinning the wheels.
Approach and Departure: Will the Bumper Scrape on This Ditch?
Successfully navigating ditches, sharp crests, and steep ledges depends on understanding three critical geometric measurements of your vehicle: the approach angle, departure angle, and breakover (or ramp-over) angle. The approach angle is the maximum incline a vehicle can climb without the front bumper or other components hitting the slope. The departure angle is the same for the rear. The breakover angle determines the sharpest peak you can drive over without getting the chassis “high-centered” between the front and rear wheels.
These angles are not just abstract numbers; they are your primary defense against body damage and getting stuck. A vehicle with short overhangs (the distance from the wheels to the bumpers) and a short wheelbase will have superior angles. This is why a smaller, purpose-built off-roader can often tackle obstacles that larger, longer trucks cannot, regardless of their power or ground clearance.
Case Study: Suzuki Jimny Off-Road Angle Capabilities
The compact Suzuki Jimny is a perfect example of geometric advantage. As noted by industry analysts, it boasts an excellent 37-degree approach angle, 28-degree ramp-over angle, and a massive 49-degree departure angle. These specifications allow it to clear obstacles that would stop larger vehicles with less favorable geometry, proving that knowing and using your vehicle’s angles is more critical than its overall size.
You can also dynamically influence these angles. By approaching a steep obstacle at a slight diagonal, one tire begins to climb before the other, effectively increasing your approach angle and preventing the front bumper from plowing into the dirt. Furthermore, understanding suspension dynamics helps: gentle acceleration shifts weight to the rear, slightly extending the front suspension and improving the approach angle. Conversely, braking compresses the front suspension, reducing it. The best tool, however, is your own judgment. If in doubt, get out of the cab and look. A few seconds of visual assessment can save you from a costly recovery or repair.
The Base Plate: How to Use a Jack on Soft Sand?
Getting a flat tire is inconvenient on pavement; on soft sand, it’s a dangerous exercise in physics. The standard “scissor” or “bottle” jack supplied with most vehicles has a very small base plate. On a soft surface like sand or mud, this small base will simply sink under the vehicle’s weight, making it impossible to lift the wheel. The solution is to spread the load over a larger surface area.
The ideal tool for this is a dedicated jacking board, typically an 18×18 inch piece of sturdy plywood. However, in a rental, you likely won’t have one. This is where improvisation becomes a critical skill. A recovery board (like a MAXTRAX or TRED), a sturdy floor mat, or even the flat blade of a shovel can be placed under the jack to create a stable base. Without this base, attempting to jack the vehicle is futile and unsafe. Position the jack under a solid chassis point, like the frame rail or directly under an axle, never under plastic body panels or the engine’s oil pan.
The absolute golden rule of jacking on an unstable surface is: NEVER place any part of your body under the vehicle. The risk of the jack shifting and the vehicle falling is exponentially higher than on solid ground. Work efficiently and deliberately. Once the wheel is lifted, swap it as quickly as possible and lower the vehicle. In some situations, it may even be easier to dig sand out from under the flat tire to create enough space to change it, rather than trying to lift the entire corner of the truck. This is a situation where careful planning and safety-consciousness are paramount.
Engine Braking: Why You Shouldn’t Ride the Brakes Downhill?
This is the core of the question: descending a steep, loose incline. Your instinct is to ride the brakes to control your speed. This is the single most dangerous thing you can do. Constant braking generates immense heat, leading to “brake fade,” a terrifying situation where your brake fluid boils and the pedal goes soft, leaving you with little to no stopping power. The correct technique is to use engine braking in 4-Low. By selecting 4-Low and 1st gear at the top of the hill, you engage the massive gear reduction of the transfer case. This forces the engine to act as a brake, keeping the vehicle at an ultra-slow, controlled crawl without you ever touching the brake pedal.
As a certified professional trainer for the International 4-Wheel Drive Trainers Association, Tom Severin explains the counter-intuitive nature of off-road driving:
Your instincts are wrong off-road, and you have to learn the correct ways. For example, if you’re going down the hill and the vehicle is sliding, the natural tendency is to step on the brakes. That just locks ’em up and you slide more.
– Tom Severin, International 4-Wheel Drive Trainers Association certified professional trainer
This highlights the need to re-train your brain. Control is maintained by letting the drivetrain do the work. You should always drive straight down a hill; attempting a diagonal descent drastically increases the risk of a rollover as gravity pulls your vehicle’s center of mass sideways. If the rear of the vehicle begins to slide sideways on a very steep sand dune, the correct (and counter-intuitive) action is a brief, gentle application of the accelerator. This transfers a small amount of weight to the rear, straightens the vehicle, and allows the tires to regain traction. Braking would only worsen the slide.
Action Plan: 4-Low Descent Control
- Select 4-Low: Engage low range and first gear at the top of the hill, before the descent begins.
- Choose the Right Gear: Use 1st gear for slow, technical descents. Use 2nd or 3rd for steep sand to prevent the front tires from digging in.
- Hands Off Brakes: Let the engine’s gear reduction control the speed. Your foot should be off the brake pedal entirely.
- Maintain a Straight Line: Always drive straight down hills to maintain stability and prevent rollovers.
- Correct Slides with Throttle: If the rear slides, apply a small amount of throttle to straighten the vehicle; never brake, as this will unbalance the truck.
Jack and Spare: Is the Rental Equipped to Change a Tire on Dirt?
The most advanced driving skills are useless if you can’t recover from a simple flat tire. For a rental 4×4, you cannot assume the necessary equipment is present or functional. Before you leave the rental lot and lose all cell service, a 5-minute pre-departure inspection is non-negotiable. This simple check can be the difference between a minor inconvenience and a major crisis.
First, physically locate the spare tire. Is it there? Is it properly inflated? Most importantly, is it a full-size spare or a temporary “donut” spare? A donut spare is completely unsuitable for off-road use and should be a deal-breaker. Next, find the jack and the lug wrench. Operate the jack mechanism to ensure all parts are present and you understand how it works. The most commonly missing item is the special “key” for locking lug nuts. If your vehicle has them and the key is missing, you will be physically unable to remove the wheel. Do not leave the lot until you have this key in your hand.
Finally, assess the jack itself. Factory-supplied scissor jacks are often flimsy and have dangerously small bases, making them notoriously unstable on uneven ground. While you may be stuck with it, understanding its limitations is part of your safety planning. As off-road experts often advise, you must ensure your equipment is suited for the environment.
Make sure your vehicle has secure jacking points or use accessories like lift mates that allow you to hook and lift from the wheel itself.
– BFGoodrich Off-Road Experts, Off-Road Recovery Gear and Safety Guide
While a rental won’t have such accessories, this highlights the importance of identifying strong, secure jacking points on the vehicle’s frame or axles. Lastly, quickly review the rental agreement for clauses prohibiting off-pavement use or self-repair, as a violation could void your insurance coverage in case of an incident.
Key takeaways
- Technical Skill Over Power: True off-road capability comes from finesse, control, and understanding vehicle dynamics, not just from pressing the accelerator.
- Assess Before Action: The most critical moments happen before you even start moving—inspecting your vehicle, walking the terrain, and forming a plan.
- Trust the Machine: Learn to use engine braking and 4-Low gearing to your advantage, even when it feels counter-intuitive. The vehicle is designed for this.
Why One Footstep Can Destroy 50 Years of Soil Growth in the Desert?
While mastering the technical skills of 4×4 driving is crucial for your safety and success, it’s equally important to understand your environmental impact. In arid environments, the ground is often covered by a dark, bumpy crust known as cryptobiotic soil. This is not just dirt; it’s a living community of cyanobacteria, lichens, and mosses that holds the fragile desert soil together, prevents erosion, and creates a foundation for plant life. This crust grows incredibly slowly, and a single footstep or tire track can destroy decades of growth, leaving a scar that can last for a century.
This is why the “Tread Lightly!” philosophy is a core tenet of responsible off-roading. The goal is to leave no trace. This principle ties directly back to your driving technique. One of the most damaging actions is unnecessary wheel spin. When your tires spin, they obliterate fragile soil structures and can even throw off small chunks of rubber, which act as non-biodegradable pollutants. Using 4-Low, proper tire pressure, and smooth throttle control are not just good driving practices—they are essential environmental protection techniques.
Case Study: The Cost of Ignoring Designated Paths
During a 2005 training event for a new 4WD club in France, the importance of environmental awareness became painfully clear. While the main track was firm, several drivers ventured onto adjacent grassy areas that appeared dry. The ground was actually waterlogged just below the surface. The vehicles became severely bogged down, and the subsequent recovery efforts caused significant, long-lasting damage to the sensitive ecosystem. This incident served as a powerful lesson: staying on established paths is the single most important rule for preventing environmental harm and ensuring your own vehicle doesn’t get stuck.
Always stay on designated trails. If the ground is soft, driving in existing ruts helps to contain the damage and provides better directional stability. Before making a wide turn, get out and scout for a spot that is already disturbed or on durable ground like rock, rather than creating a new set of tracks across a pristine area. Your adventure should not come at the expense of the landscape.
Fauna Tracking Safaris: How to Interpret Predator Body Language for Safety?
The final element of off-road mastery is situational awareness, which extends to the wildlife you might encounter. A 4×4 can be an excellent “blind” for wildlife observation, but only if operated with respect and knowledge. Misinterpreting an animal’s behavior can lead to a dangerous situation for both you and the animal. Your goal is to observe without altering the animal’s natural behavior. Finesse is key.
Finesse is the first and most important portion of your driving repertoire to acquire.
– Arrive Alive Safety Initiative, 4×4 Off-Road Driving Techniques & Safety Guide
This applies perfectly to wildlife encounters. A simple framework to use is the A-B-C model for assessing an animal’s response. “A” is for Animal is Calm: it ignores you and continues its business. You can observe quietly. “B” is for Animal is Curious: it stops and watches your vehicle but doesn’t seem stressed. You should stop, turn off your engine, and remain still. “C” is for Animal is Concerned: it changes its behavior because of you. It might stop eating, pin its ears back, move away, or even show signs of aggression. This is your cue to leave immediately. A concerned animal is an unpredictable one.
When you stop to observe, always position your vehicle for a quick and quiet departure. This means angling it away from the animal so you can drive forward to leave, rather than having to make a noisy and provocative three-point turn. If you are quiet and still with the engine off, many animals will eventually ignore the vehicle, allowing for incredible viewing opportunities. But the moment an animal shows signs of stress, your observation is over. Your presence should never be a source of anxiety for wildlife. Back away slowly and calmly, giving the animal plenty of space.
With a firm grasp of these mechanical principles and safety protocols, you are no longer just a renter; you are a capable and responsible operator. The key is to build your experience incrementally, always staying within your comfort zone and the vehicle’s capabilities. Start with easier trails and gradually work your way up to more challenging terrain as your confidence and skills grow.